Thick Facets - Tie Dye DIY Dress
Thick Facets is an ongoing project working to create plus size visibility in the fine jewelry world. It is a home for Hannah’s fashion, beauty, & styling content.
Tie Dye Trend
The collision of Quarantine and the surge of the tie dye trend is hard to ignore. While tie dye has been trending in fashion for a year or so, there is something about being stuck at home that has made the relatively fool-proof and inexpensive process of tie dying the perfect DIY project. While tie dye sweatsuits have been the biggest hit in isolation - why wear real clothes when you’re staying inside all day? - slip dresses, socks, and nearly anything that comes in white have been transformed into rainbow fashions. If you’re on TikTok, you’ve probably also noticed that tie dye’s monochromatic cousin bleach dying has also entered quarantine’s sartorial zeitgeist. Bleach dying is even easier, since nearly everyone has the materials at home: clothing, bleach, rubber bands, water. Whether it’s loungewear or tailored clothing, monochromatic or rainbow, I’m on board for the tie dye DIY trend that has taken over.
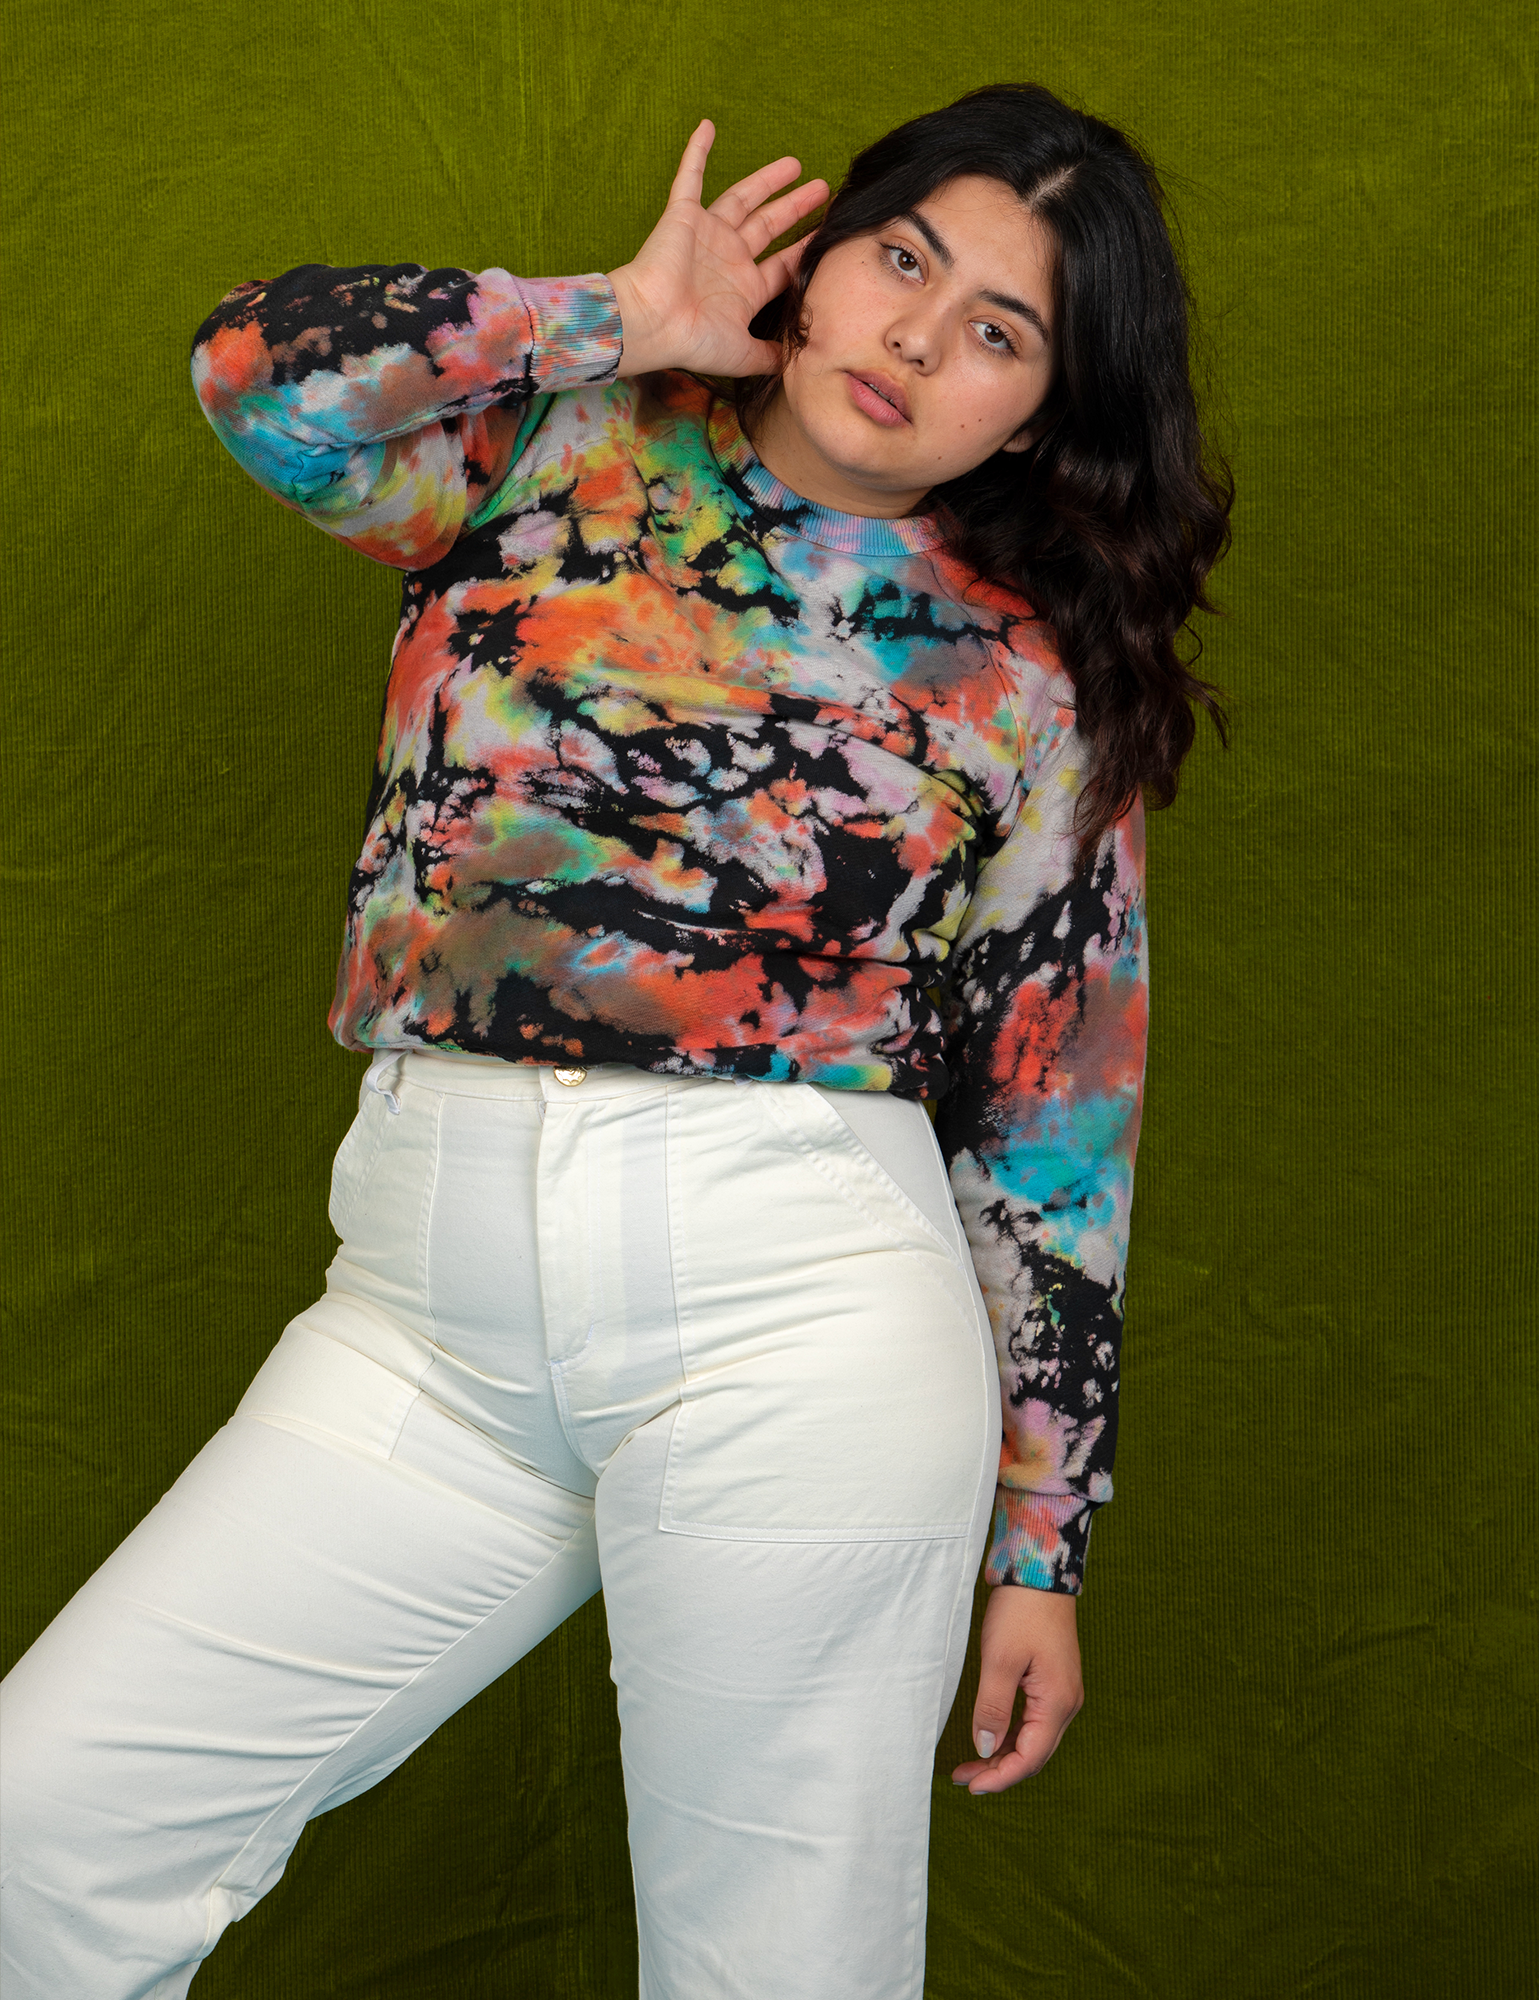
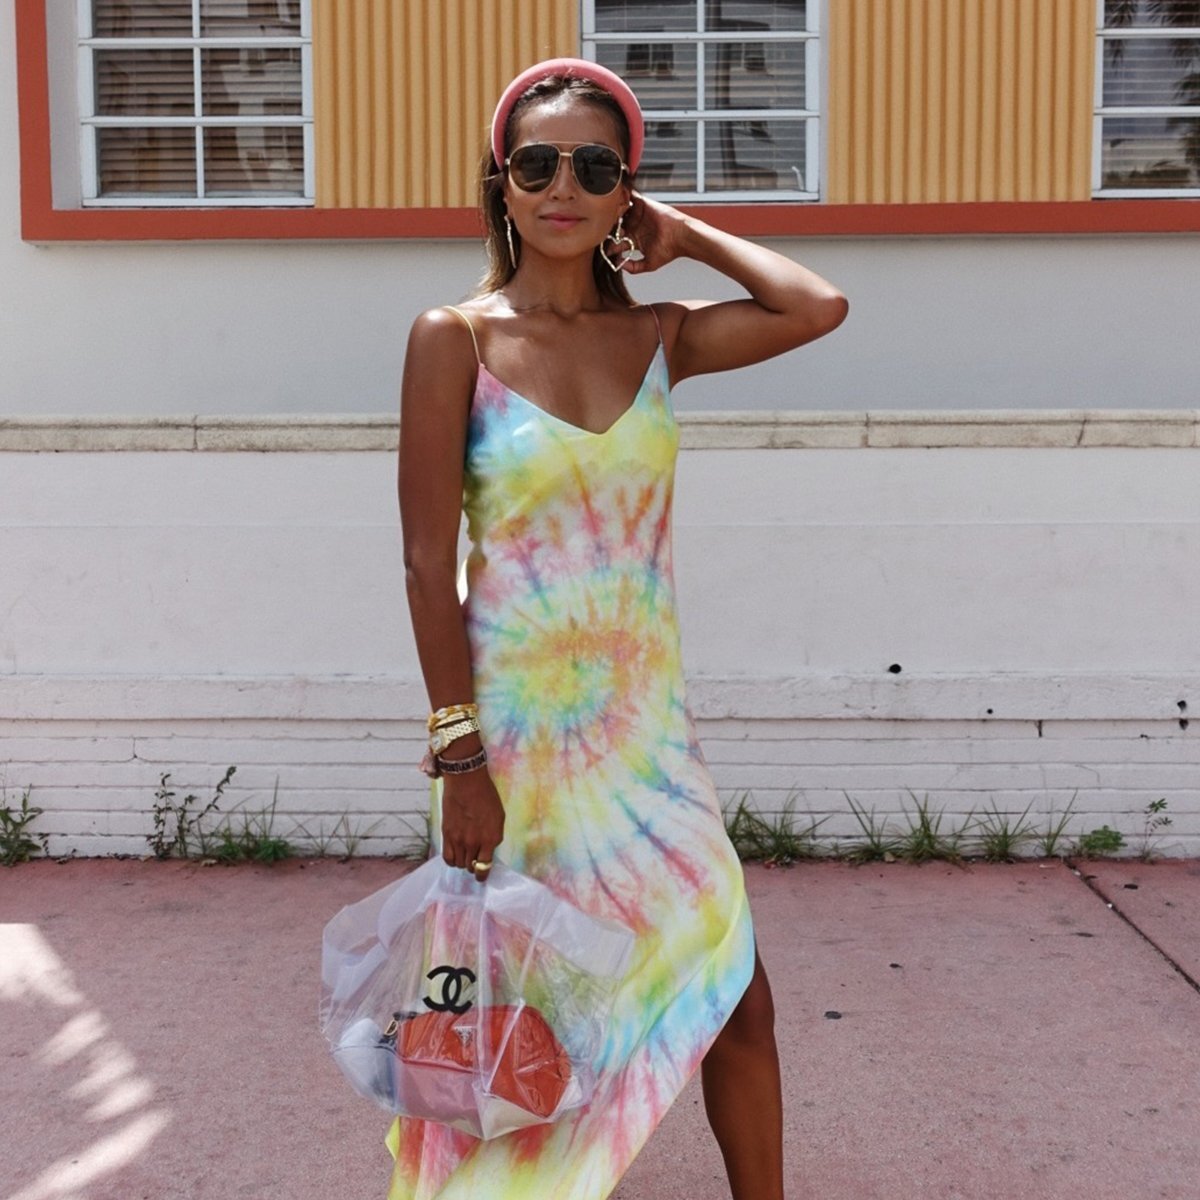
Here are some Tie Dye inspirations:
TIE DYE DIY Project
Since I’ve been so smitten with tie dye, I decided I should make my own pieces! I knew that I wanted to create a piece that wasn’t loungewear and that I could wear out after quarantine, so I went to find something to dye. I typically don’t buy white clothing because I’m very good at spilling on myself, so I ended up searching out white clothing options online from my favorite plus size clothing retailer Eloquii. Another great option for this project would be to use a piece of white clothing that’s already in your closet and give it a new life!
The Dress
To ensure that the piece I picked would hold the dye, I looked for white clothing that was at least 80% cotton content on Eloquii. I ended up finding a cinched neckline linen dress to try and dye!
[Note: after looking at the product description for this post, the dress is only 55% linen, but with a 100% cotton lining. I would recommend finding a fully cotton piece for the brightest colors possible.]
Some great options from Eloquii:
The Dyes
There are 2 options I have used for tie dying:
Kit
Mix Your Own
Kit
Earlier this year I bought this Tulip Tie Dye Party Kit. It was easy to use and came with all the supplies you need to make tie dye (gloves, rubber bands, table cloth, dye, bottles). This kit is perfect if you want to do a few projects, use up all your supplies, and be done with it. The colors in the Tulip kit are vibrant and they work well.
Mix Your Own
After using my Tulip Kit, I knew that I wanted to dye more clothing and I wanted to find an option that wouldn’t run out as quickly. I also knew that I wanted to be able to mix my own dye colors. After some google and some inspiration from this amazing Buried Diamond blog post I decided to go with RIT Dye to do this project. RIT Dye has been the go-to brand for fabric dying for 100 years! While RIT offers tie dying kits, I opted to buy bottles of the all-purpose dye so that I could create my own custom colors and also use the dyes for future projects (tie dye and otherwise). RIT also has instructions here for tie dying with their dyes & they sell tie dye kits.
The Supplies:
If you go the Mix Your Own dye route you will need these:
measuring cup/spoons (1 Tbsp)
16oz squeeze bottles (one for each color dye)
rubber bands
gloves
table covering
For both dye methods:
wire rack*
bucket*
plastic bags or cling wrap
*optional but so helpful
Tips:
Start with a test piece before you dye your brand new or expensive garment. If you’re new to tie dye, start with an old tank top or tshirt first in case you make a mistake.
Always wet your clothing! Wetting your piece before hand helps the dyes to blend and flow better.
Fewer colors will make a tie dye piece look more elegant and chic. I’ve found sticking to a color family (I chose warm colors for this dress) is helpful if you’re trying to avoid looking too summer camp or Grateful Dead.
RELAX! Tie dye is very hard to screw up, so don’t stress over it. I find the more carefree I am about the process, the better the dye turns outs.
The swirl pattern is the easiest to do and it always comes out great. If this feels too classic, try starting your swirl off center, like on your shoulder or hip to make it less obvious.
Youtube is your friend for learning different techniques for rolling, folding, Shibori, and other tying styles.
LET YOUR TIE DYE SIT! Don’t wash out the dye too soon or it won’t be very vibrant. I recommend 24 hours and leaving it out in the bright warm sun or try the microwave method for setting dye.
The Process:
For a full run through of the process, watch the video below.
The Result
Before
After
I love how this dress turned out! Overall, I’m so happy with the sunny yellows and oranges mixed with the corals and pinks that I used to makes this dress. It’s definitely going to be a staple of my spring summer wardrobe. As a relative new-comer to tie dying, I made some mistakes with this piece. I forgot to set the dye with the RIT Colorstay Dye Fixative, so my colors weren’t as bright at they could be.
Eloquii Cinched Neckline Dress with custom tie dye, Eloquii Faux Leather Moto Jacket in Maui Pink, Multi-Gemstone earrings by Diamondoodles, tie dye socks, Teva Flatform Universal sandals


